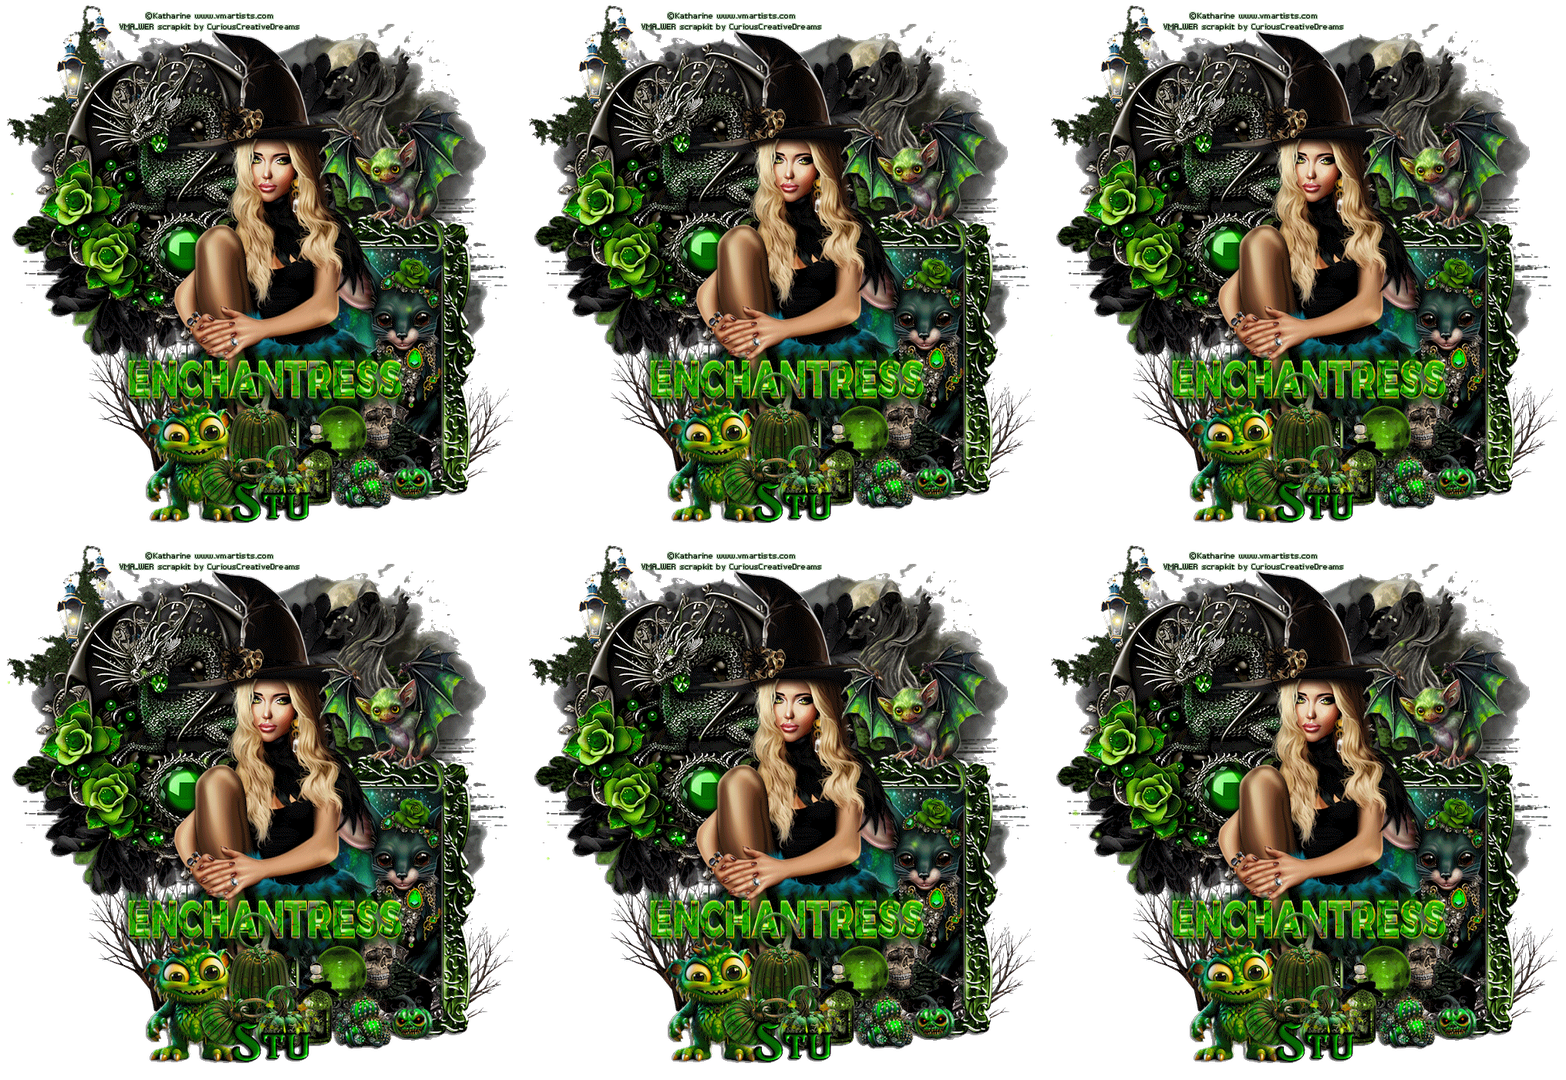
Shortcuts: d/s ~ deselect; D/S ~ Drop shadow; NRL ~ new raster layer
Add D/S as you go.
1. Open template 904, press Shift D, close original.
Delete credits, layers 4, 10,11,12, &14.
Open paper 4, duplicate, change blend mode to multiply.
Merge down. Copy
Add NRL above white bg on working template, select 'all'
Paste the paper into the selection. d/s
Apply MizMask_093. Merge Group.
Resize this 115% smart size.
2. Select all, float, defloat layer 1, NRL
open paper 8, c/paste into the selection. d/s. Sharpen
Apply Eye Candy 5 ~ Glass: clear setting
Add element 11 ~ 75%, move to right
Select all, float, defloat layer 2, NRL
open paper 5, c/paste into the selection. d/s
Sharpen, Apply same Glass setting.
Add element 34 ~ 40%, duplicate, change blend to 'multiply', merge down
Erase the the stem. Copy
Paste on top layer of template
Apply Mura's Meister ~ Copies: Encircle - 30, 60, 55
Layers: send to bottom
then move this leaf circle above layer 3. Close layer 3.
Add element 80 ~ 75%, rotate 90 deg to left, all layers checked.
Copy, paste to far right of tag, sharpen, duplicate, mirror
Open layer 3, move above elements 80
Select all, float, defloat, NRL
Open paper 2, copy/paste into the selection. Sharpen
Keeping the selection, modify contract by 6 px
NRL, open paper 8, copy/paste into the selection. d/s Sharpen
Close layer 3.
3. Open element 88, draw a selection around the tiny star
on bottom right, copy. Paste as new layer
on very top of template.
Using Mura's Meister copies, setting: 31, 65, 55 Sharpen
Move this star layer above the last paper 8 layer we created in step 2.
Rename this layer: Circle of Stars
Select float defloat layer 5, NRL open paper 1, copy paste into the selection. d/s
Sharpen.
Open element 95 ~ 15%, use High Pass Sharpen
setting: 10, 70 strength, hard light. Repeat. Copy
paste on working image top left.
Open element 84 ~ 75% C/P, move upward & slightly to right
Open element 85 ~ 50%, C/P move left, above layer 6, sharpen
Select all float, defloat layer 6, NRL
Copy element 22, paste into the selection. d/s Sharpen
close layer 6.
4. Open element 20 ~ 75%, C/P Select all, float, defloat
using effects, texture effects, sculpture, find Gold pattern fill
settings: sz 100, depth 20, color white, angle 315, intensity 50, elevation 30
apply. Sharpen
element 16 ~ 70% C/P to left, duplicate, mirror
element 51 ~ 50% C/P move to right of tag
*see reference tag*
Layer 7 and layer 9, change both to color black
using brightness/contrast -255,0
Apply same glass effect to each of these layers.
5. Select all float, defloat layer 8, NRL
Open element 8, draw a rectangular section as below:
copy. Paste into the selection on working template. d/s Sharpen.Apply glass effect.
Select 'Circle of Stars' we created earlier.
copy, paste as a "new Image"
draw a selection around two stars as seen below:
copy & paste onto working image over glassed layer 8 fillbut not over the black glassed layer.
*see reference tag*
6. Using font FoglightenNo07calt
sz 16, fill color #d8b280
Type words:
keep your eyes
on the stars.
Apply texture sculpture Goldpattern fill as before.
Type words:
and the stars
in your eyes
Apply texture sculpture as above.
7. Float, defloat layer 13, NRL
open element 4
copy, paste into the selection. d/s Sharpen
element 38 ~ 75%
element 9 ~ 75%
duplicate, mirror
element 41 ~ 75%
element 99 ~ 30%
duplicate, mirror
element 14 ~ 75%, repeat
element 62 ~ 25%
element 13 ~ 42% mirror, rotate 3 deg to right
duplicate, mirror, resize 85%, sharpen both
element 66 ~ 20%
Goldwasser tube ~ 85%
Adjust brightness/contrast: Levels
setting: 12, 134, 255, RGB
Using sharpen tool, sz 25,
tap the eyes on the tube once or twice.
Instead of adding a dropshadow to the tube,
duplicate tube, on original - add gaussian blur of 1
then merge down copy of tube to the blurred layer.
I did this dropshadow effect to the stones as well.
Select tube layer, right click & select
"Merge Visible to New Layer"
This places a merged copy above the tube layer.
Sharpen this layer using:
Adjust sharpness, unsharp mask setting:
1 radius, 64 strength, 4 clipping,
luminance only checked.
8. Close white bg. Resize all layers to size or your liking.
Add copyright information
Add name
and save as a PNG.
Thank you for trying this tutorial.
xoxo